How to Use an Inverter Generator for Home Backup Power
We introduce inverter generators as quiet, fuel-efficient backup solutions for modern homes. This guide shows us how to choose, prepare, operate, and maintain one safely so we can power essential circuits with confidence and minimal fuss, always, every single time.
Compare this with outage preparedness buying guide / or Hurricane Power Playbook: Keep the Lights On
Requirements: What We’ll Need

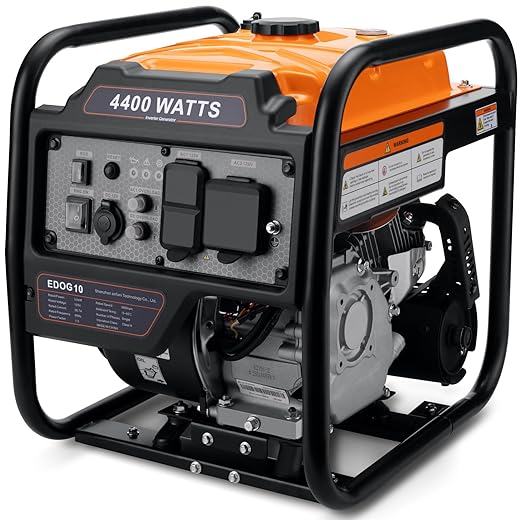
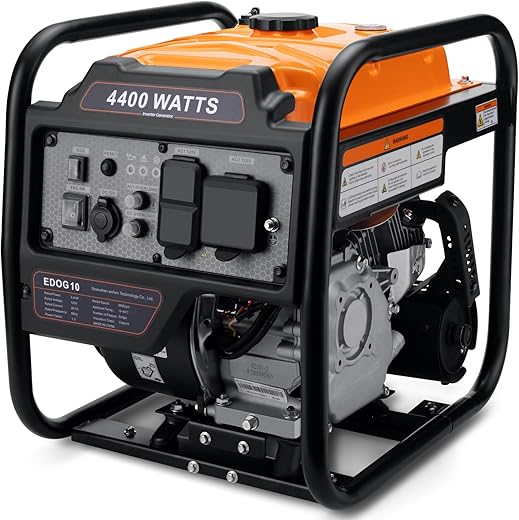
Step 1: Choose the Right Inverter Generator
How much power do we actually need — and why size matters more than brand?Match generator capacity to our home’s essential loads. List what we must run:
Sum running and starting watts — starting watts can be two to three times higher. For example, a fridge might run ~200W but start ~1,200W; a sump pump might run ~800W but start ~3,000W.
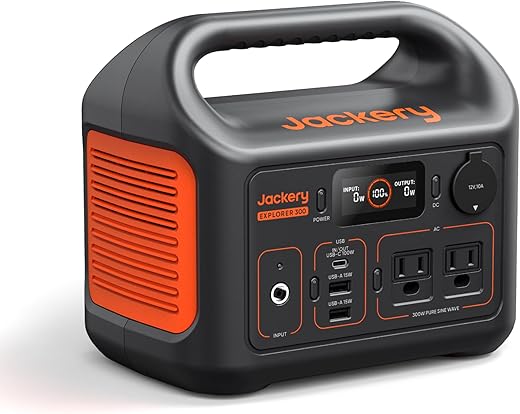
Aim to select an inverter with enough continuous (rated) output for running watts and surge capacity for starts. Consider fuel type, runtime at half load, noise, parallel capability, fuel storage, and weight. Look for built‑in CO and low‑oil shutoff, AVR or pure sine wave for electronics, and good warranty/service network. Oversize slightly for margin.

Step 2: Prepare the Site and Safety Measures
Why placement and a few safety checks can save us from disaster — literally.Place the generator on a flat, well‑ventilated outdoor spot at least 20 feet from doors and windows, on a firm, non‑combustible surface (concrete or gravel).

Step 3: Set Up the Connection Method
Do we use extension cords, a transfer switch, or weird hacks? Spoiler: some are dangerous.Decide how we’ll feed power: use portable cords to individual appliances for short‑term needs, or use a professionally installed transfer switch or manual interlock for whole‑house or critical‑circuit feeding.
Prefer a transfer switch — it prevents dangerous backfeeding and lets us power selected circuits safely.
Practice hookup and shutdown sequences once a season so we transition smoothly during an outage.

Step 4: Start and Operate the Generator Safely
Startup rituals matter: a smooth, quiet run protects our appliances and our nerves.Check oil and fuel levels, inspect for leaks, and ensure vents are clear before starting; we should use fresh fuel or add stabilizer if it’s been stored.
Follow the manufacturer’s cold-start procedure: choke, prime if required, then pull or use electric start.
Allow the engine to warm at no-load for a few minutes before connecting sensitive electronics.
Connect prioritized loads first and stagger motor starts—start the fridge first, wait 30–60 seconds, then start the well pump—to reduce simultaneous surges.
Monitor gauges, listen for unusual noises, and check for excessive vibration.
Run the generator at 40–80% load for best efficiency and to prevent wet stacking.
Never refuel while running or hot; shut down, cool, then refuel outdoors.
Maintain safe clearances, keep CO detectors active, track fuel and runtime, and record hours in our logbook for warranty and service.

Step 5: Maintain and Troubleshoot During Extended Use
Small checks today prevent big headaches tomorrow — our best low-effort habits.Commit to regular maintenance after the initial break‑in.
Change oil and filter per schedule; clean or replace air filters; inspect and replace spark plugs as needed.
Keep the battery charged and use stabilized fuel for storage.
Run the generator monthly under load for 20–30 minutes to exercise components and burn deposits.
Check and tighten electrical connections, clean terminals, and replace worn cords.
Diagnose performance drops by verifying fuel quality, oil level, air intake, and spark‑plug condition.
Test low output with a known load (for example, a space heater) and measure voltage; consult our technician if readings remain low.
Keep a maintenance log, spare oil and filters, and our electrician’s contact handy.
Winterize each season: drain the carburetor or add stabilizer, cover and store dry, and schedule annual professional servicing.
Step 6: Shut Down, Store, and Be Ready for Next Time
Closing the loop: smart shutdowns keep our generator ready and warranty intact.Disconnect loads and turn off appliances; for example, switch off the transfer switch and unplug sensitive devices.
Let the generator run unloaded for 3–5 minutes to cool and stabilize.
Follow the stop procedure in the manual — turn off the engine, close the fuel valve, and shut off the fuel source.
Treat fuel: add stabilizer and run 5–10 minutes if storing over a month, or drain the carburetor and tank per instructions.
Change oil after extended use, clean the air intake and exterior, and cover the unit with a breathable cover in a dry, ventilated space.
Maintain battery charge with a trickle charger if applicable; log shutdown and maintenance actions, check warranty, and schedule needed service.
Rotate stored fuel, replace perishables (filters, fuel), and mark the next service date on our calendar.

Conclusion: Confident Backup, Ready Home
We’ve followed six steps to create a safe, reliable inverter-generator backup for essential home power. We can reduce outage stress, preserve the unit, and sleep better. Try this setup, share your results, and contact a pro when needed — confidently today.

31 comments
Nice guide! I appreciated the troubleshooting tips in step 5 — my generator once wouldn’t start because of a flooded carburetor after I tried to vape the fuel (rookie move). Only thing: a little more detail on CO safety alarms would be great.
Good point, Sofia. CO safety is critical — we’ll expand that section with specifics on alarm placement and model recommendations. Glad the troubleshooting helped!
Loved the ‘be ready for next time’ tone — prepping is half the battle. A few real-life things I’d add:
1) Test-run your generator monthly for 15 minutes under load.
2) Keep a sealed plastic box with tools, extra fuses, and a printed quick-start guide.
3) If you have sensitive electronics, consider a small UPS between the generator supply and devices.
Question for others: how often do you rotate stored fuel? I heard 6 months is the max without stabilizer?
I rotate every 6 months even with stabilizer, just to be safe. Better than finding varnished gas inside the tank during an outage.
Great additions, Maya. Monthly test runs and a tool kit are solid. As for fuel: with stabilizer, up to 12 months is commonly recommended; without stabilizer, 3-6 months depending on storage conditions.
Short and sweet — this was the most relatable guide I’ve read. A couple of things that helped me:
– Use fuel stabilizer if you store fuel longer than a month.
– Label the generator’s breaker and the home transfer switch so other family members know what goes where.
Also lol at the ‘be ready for next time’ section — after my first outage I was all chaos, now I’m chill 😂
😂 I can relate. The first time my family treated it like a scavenger hunt. Labels fixed everything.
Yes to labeling. We had a panicked neighbor once trying to flip the wrong breaker — not fun.
Fuel stabilizer tip is gold. I made the mistake of old gas gum clogging the carburetor once.
Extra tip: store a printed step list near the generator and keep spare safety gloves and a flashlight nearby.
Thanks Ethan — labeling is underrated but so helpful during stress. Glad you’re feeling chill now!
Came here after a storm knocked out power for 18 hours. The guide helped me set up a basic safe connection quickly. Two tiny notes:
– Watch the fuel level closely if running a fridge + heater.
– Keep a small notebook with operating times and oil changes — helps with warranty.
Good job overall 👍
Solid content. A few quick add-ons from my time installing backups:
– Use a long, properly rated extension cord if you’re doing temporary whole-house connection, but only as a last resort.
– Metering the load with a clamp meter before blackouts helps you know what to shed.
– Keep spare spark plugs and an oil filter if your model needs them — saves a store run in a storm.
Also, pro tip: take a photo of the generator serial + model and keep it with receipts for warranty claims.
Agree on spare parts. After one cold night, replacing a plug in the garage saved us from freezing.
Excellent practical tips, James. Load metering is something we should emphasize more — thanks.
I got a cheap one from my hardware store for about $30. It won’t be lab-grade but good enough for identifying major draws.
Clamp meter — never thought of that. Can you recommend an affordable one?
Useful walkthrough but I wish there was more on noise mitigation. My inverter is quiet compared to standard gensets, but my wife still complains. Anyone tried building a sound enclosure? Any dos/don’ts?
Also, step 5 on maintenance suggested checking oil every 8 hrs of operation — is that standard? Seems frequent.
Noise is a common concern. Small baffles, positioning the unit away from neighbors, and adding a slab to reduce vibration helps. Regarding oil checks: for extended runs (several hours), periodic checks are recommended; consult your specific model’s manual for exact intervals.
I built a simple wooden box lined with soundproofing foam and added vents — keeps it quieter but make sure airflow isn’t blocked. Also monitor temps closely.
This guide was super practical — I like the step-by-step flow. A few notes from my experience:
1) Picking the right inverter: don’t just look at wattage, check surge capacity and whether it can handle inductive loads (fridge compressor).
2) Site prep: I put a small concrete pad under mine and it made a world of difference for stability and noise.
3) Connection: I used a transfer switch installer recommended in step 3 — saved me from dangerous backfeeding.
Thanks for including maintenance tips too! A tiny nit: would love a checklist PDF to print and tape to my breaker box. 🙂
Great suggestion, Laura — a printable checklist is a good idea. We’ll look into adding one to the article. Glad the transfer switch saved you trouble; that’s a common theme in the comments.
I did about 3 inches with wire mesh. Totally overkill maybe, but it’s held up for 2 seasons with storms and no shifting.
Concrete pad — nice idea. I was worried about vibrations damaging the unit over time. How thick did you make the pad?
Okay, I have mixed feelings. The guide is great for beginners but felt a bit light on local code mention. Things like ‘do not backfeed’ are repeated (good), but some countries/states need permits or have specific grounding rules.
Also: small rant — why do manuals use tiny font? 😅
Overall useful, though. The ‘shut down and store’ step helped me avoid the ‘left-over fuel’ mistake I once made.
We’ll include a short checklist of who to call (electrician, inspector) and what questions to ask.
Agreed on permits. My area required a simple electrical inspection before using a transfer switch. Not hard, but better to know ahead.
Local rules saved me from doing something dumb. Worth calling the municipality hotline.
Thanks Nora — regulatory compliance is important and varies a lot. We’ll add a clearer note recommending readers check local codes and consult an electrician for installations. Manuals and tiny font = universal struggle. 😂
Sweet — that would make the article much more actionable. Thanks!
Helpful article. One question: the section on connection methods mentions transfer switches and manual interlock. For older homes without a transfer panel, is a manual transfer switch the safest DIY option or should I always hire an electrician? I don’t want to void any codes or risk backfeed.