Why Proper Battery Sizing Matters
Size a backup battery to RELIABLY power your home during outages without overspending or risking undersized capacity. Follow six steps to audit use, prioritise loads, set autonomy, calculate kWh and Ah, choose chemistry and voltage, and finalise design, budget, installation.
Compare this with Top 7 Portable Power Picks for Kitchen Gear Today / or 8 Best Foldable Solar Panels: Portable Power for Camping
What You’ll Need

Step 1 — Audit Your Energy Use
How much electricity do you actually need? (Spoiler: your bills tell the truth.)Compile your household energy profile by reviewing utility bills to get kWh per month, then convert to a daily average (kWh/month ÷ days). Track seasonal peaks (winter heating, summer AC) so you size for worst-case demand.
Measure real-time loads with a plug energy monitor for individual appliances or a whole-home meter (e.g., Sense, Emporia) for circuit-level data. Run measurements during typical use and high-demand periods.
Create a simple load list with each device’s name, wattage, and typical run hours. Example: fridge — 150 W × ~8 hrs/day = 1.2 kWh/day; AC — 3,500 W × 3 hrs = 10.5 kWh/day. Use this list to separate always-on loads from discretionary loads.
Record appliance power ratings (watts) and typical run hours to build a load list you’ll use for sizing.

Step 2 — Pick and Prioritise Critical Loads
What must stay on during an outage? Choose ruthlessly — you can’t run everything.Decide which circuits and appliances the battery must support: refrigeration, lights, medical devices, communications, heating/cooling, or only essentials. Choose what keeps your household safe and comfortable during outages.
Tally each chosen device’s daily energy (kW × hours = kWh/day). Example: fridge — 150 W × 8 hrs = 1.2 kWh/day; LED lights — 50 W × 4 hrs = 0.2 kWh/day.
Classify loads so you can size capacity and inverter ratings:
Note peak (surge) power requirements and add them to your list. Tally the kWh for those items per day and note peak (surge) power requirements.
Step 3 — Determine Desired Autonomy
How many days of backup do you want? One day may comfort you, three days will really protect you.Decide on the number of full days the battery must run your critical loads without charging. Consider local outage patterns, seasonal storms and typical weather that limits solar recharging.
Choose a target based on risk and budget. For example: a suburban home with occasional one-day outages might pick 1–2 days; a coastal house facing hurricanes may choose 3+ days to protect food and medical gear.
Consider these factors:
Multiply your daily critical-load kWh by your chosen days to get a rough required capacity before adjusting for usable depth-of-discharge and system losses (Step 4).

Step 4 — Calculate Battery Size (kWh and Ah)
Use this simple formula — it separates wishful thinking from reality.Calculate the required nominal battery capacity using this formula:
Required nominal battery capacity (kWh) = (Daily critical kWh × Days of autonomy) ÷ (Usable depth of discharge × Round‑trip efficiency).
Apply the numbers. Example: 6 kWh/day × 2 days ÷ (0.8 DoD × 0.9 efficiency) = 16.7 kWh nominal.
Convert to amp‑hours for your system voltage:
Ah = (kWh × 1000) ÷ system voltage — e.g., 16.7 × 1000 ÷ 48 V ≈ 347 Ah.
Use these rounded figures when selecting modules and quoting installation.
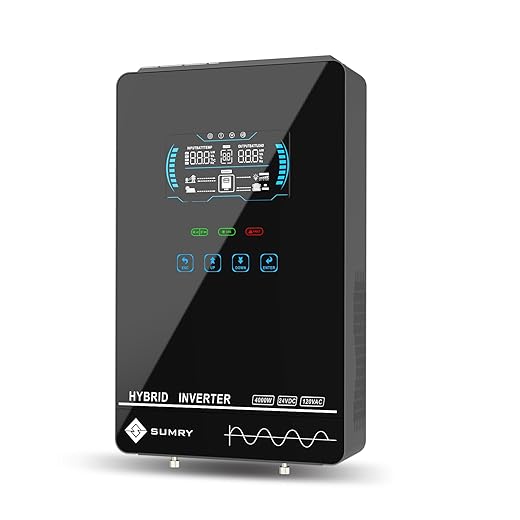
Step 5 — Match Chemistry, Voltage and Power Ratings
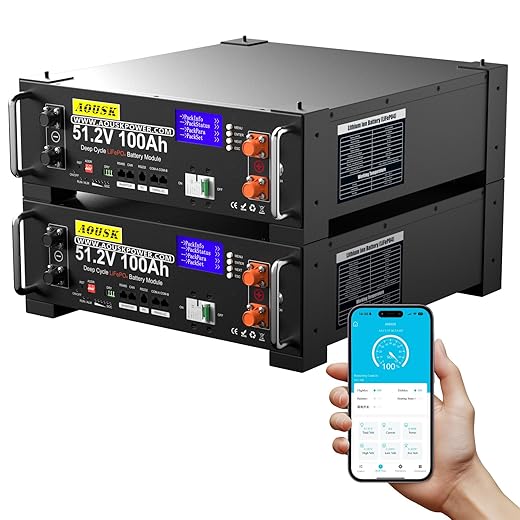
Lithium is sexy and efficient — but is it right for your budget and wiring?Choose battery chemistry based on budget and goals: LiFePO4 for long life and safety; flooded or AGM lead‑acid for lower upfront cost. Fit Li batteries with a proper BMS.
Match bank voltage (12 / 24 / 48 V) exactly to your inverter and charge controller. Convert kWh → Ah using that system voltage.
Check inverter continuous and peak (surge) power against startup loads — e.g., a fridge may surge 1.2 kW but run at 200 W, so the inverter must handle the surge.
Perform these quick checks:

Step 6 — Finalise System Design, Budget and Installation
Costs, permits, and future expansion — plan like a pro so you don’t regret decisions later.Sum component costs and build a simple BOM. Add prices for:
Confirm permits, utility interconnection rules and safety clearances. For example, check if your utility requires anti‑islanding protection or limits export; get a building or electrical permit if local code requires it.
Plan for expansion by choosing modular batteries (e.g., 5 kWh modules) or an inverter with spare capacity (e.g., 6 kW inverter for a 4 kW initial load). Arrange professional installation and commissioning with a licensed installer. Schedule routine maintenance and battery health checks (annual inspections, BMS logs) to preserve warranty and performance.
Ready to Size Your Backup Battery
Follow these six steps—from audit to installation—to choose a backup battery that balances reliability, cost, and future growth. Use your calculated numbers, revisit priorities, and, if unsure, consult a certified installer to validate the design and budget—ready to proceed?

21 comments
Short and sweet: Why did nobody tell me Step 3 (autonomy) was basically ‘decide how paranoid you are’ lol. I sized for 36 hours and my partner called me dramatic, but then last winter’s outage made me the hero. 😎
Haha — being a little paranoid isn’t a bad strategy for peace of mind. Just remember to balance that with budget and roof/space constraints when finalising the system (Step 6).
36h saved my family too. Might be overkill for some, but if you can afford it and want minimal stress during storms, go for it.
Great breakdown — this guide actually made the kWh vs Ah calculation click for me after years of being vaguely terrified by battery specs.
Quick question: when you calculate battery size for desired autonomy, do you usually size to the nearest 24-hour block or to the most common outage length in your area? I’m leaning toward 24h so we can cover a full day, but worried about oversizing the system and blowing the budget. Any rules of thumb? 🤔
Also, small typo in Step 4: the Ah example uses 48V but the math looks like it’s for 12V. Could be me, but wanted to flag it.
If you have solar charging during the day, you can get away with a smaller battery because you’ll top up daily. If no solar, I’d definitely choose the outage-pattern rule of thumb. 👍
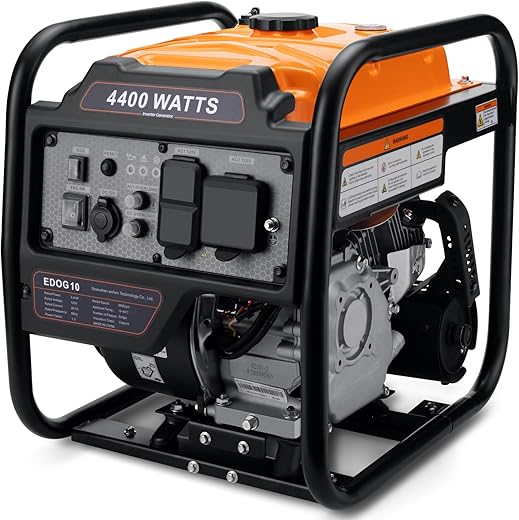
I did 24h for my cabin and regretted it — my bills doubled. Now I size for 12h and prioritize fridge + some lights + router. If storms hit multiple days, I have a generator as backup. Different strokes for different folks.
Great catch on the example — thanks for flagging it, Sarah. You’re right that mixing voltages in an example can be confusing. As for sizing: many people pick the most likely outage duration (e.g., 8–12 hours) and then add a buffer (20–30%) rather than designing for a full 24 hours unless you have frequent multi-day outages. 24h is safer but more expensive.
Really useful walkthrough. A couple of practical questions from someone who’s ready-ish:
1) How much should I budget for installation vs hardware? Is 30% of hardware cost a sane estimate for a residential install?
2) Any checklist for picking installers — what questions should I ask beyond certifications?
Also, love the ‘Ready to Size Your Backup Battery’ worksheet link. Saved it 🙂
Budget tip: include a 10% contingency for surprise wiring or permit fees. Saved me a headache during install.
Also ask who handles monitoring and software updates. My first installer left monitoring setup as an optional extra — I regret not insisting it be included.
One more: request an itemized quote with equipment models, inverter compatibility, and expected usable capacity (not just nominal kWh). That helps compare apples to apples.
Great questions, Lisa. Installation often runs 15–40% of hardware cost depending on complexity (wiring, permits, labor rates, need for panel upgrades). 30% is a reasonable middle estimate.
When vetting installers, ask about:
– Local experience and past installs you can inspect
– Warranty handling and who the point of contact is
– How they size systems (do they re-audit your loads?)
– Permitting timeline and whether they handle inspections
– Battery chemistry familiarity and maintenance plan
If you’re in a historic neighborhood or have HOA rules, check any aesthetic/approval requirements too. I learned that the hard way 🙄
Solid guide — love the practical steps. Step 2 (prioritise critical loads) saved me from overbuying. I listed everything and realized I only truly needed power for the fridge, a few lights, and my home office during outages.
One tip for others: use a smart plug energy monitor for a week to get real data instead of guessing. My wife thought the AC was the killer, but it was the old space heater being left on 😂
Thanks Miguel — smart plugs are one of the easiest ways to do a real audit (Step 1). They’re cheap and give surprisingly useful insight.
Omg yes. That space heater is always the culprit. Also, watch out for phantom loads like chargers and standby TVs — they add up.
Pro tip: measure during a typical week, not a holiday week when everyone’s home. Real usage patterns matter.
And if you have an EV, decide if you want to include it as a critical load or keep it off-grid during outages — that drastically changes sizing.
Helpful but I felt Step 5 could use more nuance. The chemistry section glosses over cycle life vs cost trade-offs. For example:
– LiFePO4 has great cycle life and safety, but lower energy density
– NMC is denser and cheaper per kWh initially, but may degrade faster under high depth-of-discharge
Would’ve liked a small example comparing long-term cost per kWh delivered for two chemistries. Makes it easier to justify the upfront spend on higher-cycle batteries.
Excellent point, Priya. We wanted to keep the guide high-level, but adding a simple lifetime cost example is a great idea for a follow-up. We’ll work on a small table showing cost per kWh delivered over expected cycles.
Totally agree. I ran rough numbers and even though LiFePO4 was more expensive upfront, over 10 years it worked out cheaper for my usage profile because of the extra cycles and deeper DoD. Worth modeling it.